In this tutorial on React Redux, I will explain how to create a React application with Redux. In this application, I will explain how to fetch data from REST api endpoints.
Who this tutorial is for
React developers with good knowledge of React and ES6 syntax wanting to learn Redux. You will learn Redux the practical way by creating an actual application.
What will you learn
How to use Redux with React. How to make a GET API call using Redux with React
Pre Requisite Softwares
NodeJS (can be downloaded from https://nodejs.org/en/download/)
Visual Studio Code (can be downloaded from https://code.visualstudio.com/download)
I hope React developers must already be having their development environment configured using NodeJS and any editor like VS Code, Sublime Text etc.
Source Code
Complete source code can be downloaded for GitHub repo : https://github.com/sudipta-chaudhari/ReactRedux
What the final application’s output looks like
The applications output will look as follows where list of posts and list of comments are fetched from http://jsonplaceholder.typicode.com/posts and http://jsonplaceholder.typicode.com/comments respectively. These REST api endpoints provide sample data for testing and prototyping.

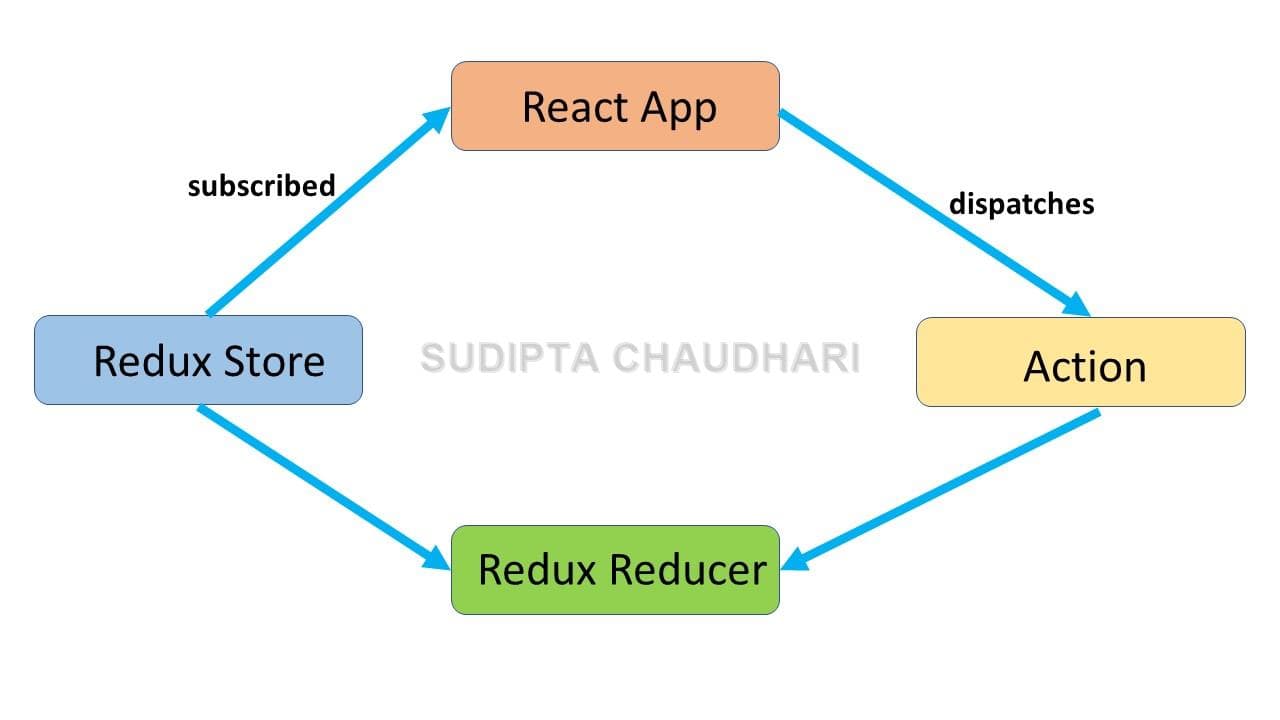
How React-Redux Works
Step (1) – Create a new React app
Go to your preferred folder location and run the following command on your terminal or console.
npm i -g create-react-app 
This will install create-react-app globally. If you already have create-react-app installed (which I believe React developers will have already), you can skip this step. Also, if you don’t want to install create-react-app globally, you can use skip this step and create the react app using the following command.
npx create-react-app react-redux-tutorial
This will create a new React app with all the required dependencies.
Now change your working directory to react-redux-tutorial and run the following command to test if your React app runs fine.
npm start
Step (2) – Install required packages
We need to install 3 packages – redux, react-redux, redux-thunk and axios.
redux package is needed for working with Redux.
react-redux package is needed for connecting React with Redux as Redux can be used separately with Vanilla JavaScript also.
redux-thunk package is a middleware and is needed for introducing side effects like making API calls which return a Promise wrapped in a function rather than actions from action creators.
axios is needed for making REST api calls.
Install all the 3 packages by running the following command.
npm i redux react-redux axios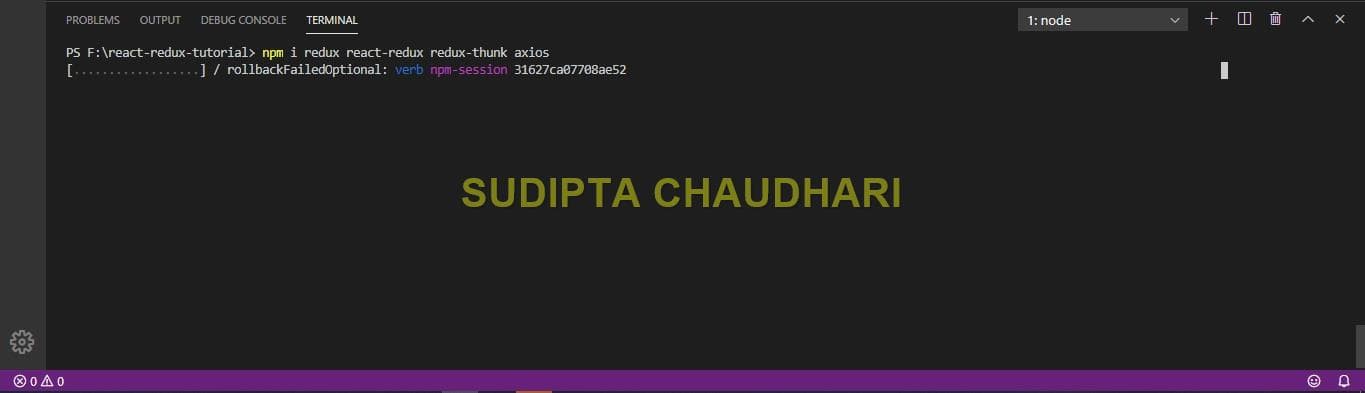
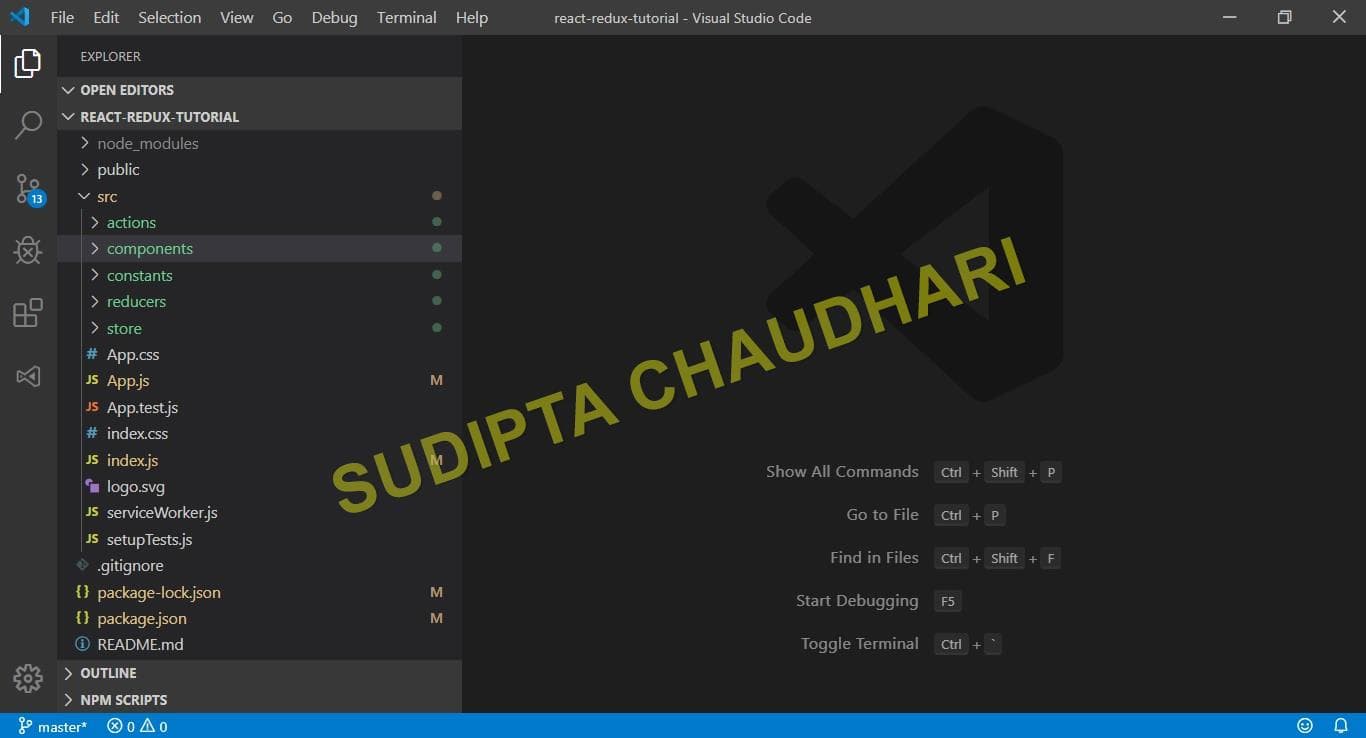
Step (3) – Setup project folder structure
Under src folder, create 4 new folders – components, constants, actions, reducers, store.
components folder stores our React JSX components.
constants folder stores files which exports constants for the Redux action types.
actions folder stores files for the Redux actions.
reducers folder stores files for the Redux reducers. Multiple reducers will be combined into a single root reducer.
store folder stores files for the Redux store.
Step (4) – Create Constants for Redux Actions
As we have setup our folder structure for working in Redux with React, we will now create constants for Redux Actions.
Under constants folder, create a new file – postTypes.js as follows.
export const FETCH_POSTS_REQUEST = 'FETCH_POSTS_REQUEST'
export const FETCH_POSTS_SUCCESS = 'FETCH_POSTS_SUCCESS'
export const FETCH_POSTS_FAILURE = 'FETCH_POSTS_FAILURE'
Create another new file – commentTypes.js as follows.
export const FETCH_COMMENTS_REQUEST = 'FETCH_COMMENTS_REQUEST'
export const FETCH_COMMENTS_SUCCESS = 'FETCH_COMMENTS_SUCCESS'
export const FETCH_COMMENTS_FAILURE = 'FETCH_COMMENTS_FAILURE'
FETCH_POSTS_REQUEST / FETCH_COMMENTS_REQUEST – These constants are for the corresponding Redux action that will be dispatched when the posts or comments api request is initiated.
FETCH_POSTS_SUCCESS / FETCH_COMMENTS_SUCCESS – These constants are for the corresponding Redux action that will be dispatched when the posts or comments api request is successful.
FETCH_POSTS_FAILURE / FETCH_COMMENTS_FAILURE – These constants are for the corresponding Redux action that will be dispatched when the posts or comments api end request fails/encounters error.
Step (5) – Create Redux Actions
Now let’s create Redux Actions. Under actions folder, create two new files – postActions.js and commentActions.js
Now we will define the Action Creators. I will take the postActions.js file and define the action creators. Similar action creators are defined in commentActions.js file.
The first line which is as follows imports all the constants defined in previous step (4).
import * as postTypes from '../constants/postTypes'Next we import axios package for REST api interactions as follows.
import axios from 'axios'Next we create and export the 3 actions for which we had created the constants in previous step (4).
export const fetchPostsRequest = () => {
  return {
    type: postTypes.FETCH_POSTS_REQUEST
  }
}

export const fetchPostsSuccess = posts => {
  return {
    type: postTypes.FETCH_POSTS_SUCCESS,
    payload: posts
  }
}

export const fetchPostsFailure = error => {
  return {
    type: postTypes.FETCH_POSTS_FAILURE,
    payload: error
  }
}
Next we create and export the following getPosts() function.
export const getPosts = () => {

  return async (dispatch) => {

    dispatch(fetchPostsRequest())

    await axios.get('https://jsonplaceholder.typicode.com/posts')
      .then(response => {
        dispatch(fetchPostsSuccess(response.data))
      })
      .catch(error => {
        dispatch(fetchPostsFailure(error.message))
      })
  }
}
It dispatches the fetchPostsRequest() when the posts api request is initiated.
If the api request is successful and response is received, the fetchPostsSuccess() action is initiated which passes the response.data object in the Action Payload which will be read by the Redux Reducer which we will define in the next step.
If the api request fails and returns an error, the fetchPostsFailure() action is initiated which passes the error.message object in the action payload which will be read by the Redux Reducer which we will define in the next step.
Similar code is implemented in commentActions.js file for fetching comments and dispatching comment actions.
Step (6) – Create Redux Reducers
In this step, we will create Redux Reducers with the Redux Actions defined in previous Step (5). Under reducers folder, create two new files – postsReducer.js and commentReducer.js
I will take the postReducer.js file. commentReducer.js file is implemented similarly.
The first line imports the Action Constants created in Step (4) and these were also imported in previous step (5).
import * as postTypes from '../constants/postTypes'Next we define the initial state as follows.
const initialState = {
    posts: [],
    loading: false,
    error: ''
}
Now we create our reducer function as follows. Remember that Redux Reducer is a function which takes a state and action and returns the new state. The state passed to the Reducer is the initial state. Any changes to the state inside the reducer is not done directly, instead a copy of the state is created using the ES6 spread operator as …state.
const postsReducer = (state = initialState, action) => {

    switch(action.type){
        case postTypes.FETCH_POSTS_REQUEST:
            return {
                ...state,
                loading: true
            }
        case postTypes.FETCH_POSTS_SUCCESS:
            return {
                ...state,
                posts: action.payload,
                loading: false,
                error: ''
            }
        case postTypes.FETCH_POSTS_FAILURE:
            return {
                ...state,
                loading: false,
                posts: [],
                error: action.payload
            }
        default: return state;
    }
}
Actions dispatched in previous Step (5) from the getPosts() function are read by the Reducer and the corresponding new state is returned in response to the action type in the switch case statement.
Finally the Reducer is exported for use in the store which will be defined in the next step.
export default postsReducerStep (7) – Create Redux Store
Our Redux store looks as follows.
import { combineReducers, createStore, applyMiddleware } from 'redux'
import postsReducer from '../reducers/postsReducer'
import commentsReducer from '../reducers/commentsReducer'
import thunk from 'redux-thunk'

const rootReducer = combineReducers({
    postsRed: postsReducer,
    commentsRed: commentsReducer
})

const store = createStore(rootReducer, applyMiddleware(thunk))

export default store
The top of the file imports the necessary items.
First, we take both the postsReducer and commentsReducer and combine them into a rootReducer.
Next, we define our Redux Store which accepts the rootReducer. The second parameter applies the redux-thunk middleware (which I described in Step (2)) to our redux store.
Finally, the Redux Store is exported for use in root index.js file which imports and displays our root application component. But at this point in our index.js file, React and Redux are not connected which we will achieve in our next step.
Step (8) – Providing Redux Store to React
It is this step where the react-redux package is used for connecting Redux with React.
In our index.js file which look as follows, we warp our root App component inside Provider component from react-redux package. Provider component also make our entire React application aware of Redux store.
import React from "react";
import ReactDOM from "react-dom";
import "./index.css";
import App from "./App";
import * as serviceWorker from "./serviceWorker";
import { Provider } from "react-redux";
import store from "./store/index";

ReactDOM.render(


  ,
  document.getElementById("root")
);

// If you want your app to work offline and load faster, you can change
// unregister() to register() below. Note this comes with some pitfalls.
// Learn more about service workers: https://bit.ly/CRA-PWA
serviceWorker.unregister();
Step (9) – Connect Redux with React
Under components folder, create two new files – Posts.js and Comments.js
I will create both these React components as class components. The code for Posts component is as follows. The Comments component is implemented similarly.
Next after the render() function, create a mapStateToProps() function which connects a part of the Redux state to the props of a React component. This function takes the first argument called state, optionally a second argument called ownProps (second parameter not used in this code& gets the data which is fed to the component. In layman terms, the state from the Redux store coming via the Redux Reducer is mapped to the Props to the consumed by the React component.
mapStateToProps() function returns the following properties – posts, loading and error. The value of these properties are fetched from the state by the Redux Reducer key postsReducer defined while creating the rootReducer using combineReducers method as follows.
In addition to whatever props the Posts component was receiving, the component now received 3 additional props posts, loading and error.
Complete code for mapStateToProps() function looks as follows. d0 List
const mapStateToProps = state => {
    return {
        posts: state.postsRed.posts.slice(0, 20),
        loading: state.postsRed.loading,
        error: state.postsRed.error
    };
}
Instead of writing the state transformation code like the following in the mapStateToProps() function, it is extracted in a separate file called selectors.
posts: state.postsRed.posts.slice(0, 20)
There is a concept of selectors presented in the official React Redux documentation. Refer https://react-redux.js.org/6.x/using-react-redux/connect-mapstate#use-selector-functions-to-extract-and-transform-data
I am not using selectors here to keep the example simple.
Next create another function mapDispatchToProps(). This function receives the Redux dispatch method as parameter and returns an object. Within the object, we create one property getAllPosts which is equal to an arrow function which dispatches the Action Creator from Redux. The dispatched action creator here is getPosts() which is imported at the top of the file.
const mapDispatchToProps = dispatch => {
    return {
        getAllPosts: () => dispatch(getPosts())
    }
}
The next step is to connect these two functions mapStateToProps() and mapDispatchToProps() with our React Component. For this we use the connect() function or the connect Higher Order Component (HOC) from the React Redux library. At the top of the our Posts component, connect HOC is imported from react-redux library. At the bottom while exporting the component, we connect the two functions mapStateToProps() and mapDispatchToProps() as follows.
export default connect(
    mapStateToProps,
    mapDispatchToProps
)(Post)
The Post component receives as Props the state that we defined in our postsReducer in Step (6).
Inside the render() function, we de-structure the props. loading property is checked and if it is true, loading message is displayed. A loading spinner gif image can be displayed here. Next the error property is checked and if true, error message is displayed. If the error property is false, list of posts is displayed using map function by fetching the id and title of the post and displaying them using an unordered list.
import React, { Component } from 'react'
import { connect } from 'react-redux'
import { getPosts } from '../actions/postActions'
import '../App.css'
export class Post extends Component {
componentDidMount() {
this.props.getAllPosts();
}
render() {
const { loading, posts, error } = this.props
if (loading) {
return (
Loading Posts, please wait...
)
}
if (error) {
return (
Error!! - {this.props.error}
)
}
else {
return (
{posts.map(el => (
- ({el.id}) {el.title}
))}
);
}
}
}
const mapStateToProps = state => {
return {
posts: state.postsRed.posts.slice(0, 20),
loading: state.postsRed.loading,
error: state.postsRed.error
};
}
const mapDispatchToProps = dispatch => {
return {
getAllPosts: () => dispatch(getPosts())
}
}
export default connect(
mapStateToProps,
mapDispatchToProps
)(Post);
This concludes the article – React Redux Tutorial. I hope you liked this article. If you have any comments, questions or suggestions, please post them in the comments section below this article. I will try to respond at my earliest or somebody else reading the article and your comment will try to respond.
